Finally a DIY metal baluster system that snaps together so quickly and easily one person, with virtually no skill can pull it off with exceptional results.
We’re sure some of these will be exactly what you are looking for.
THE PROBLEM
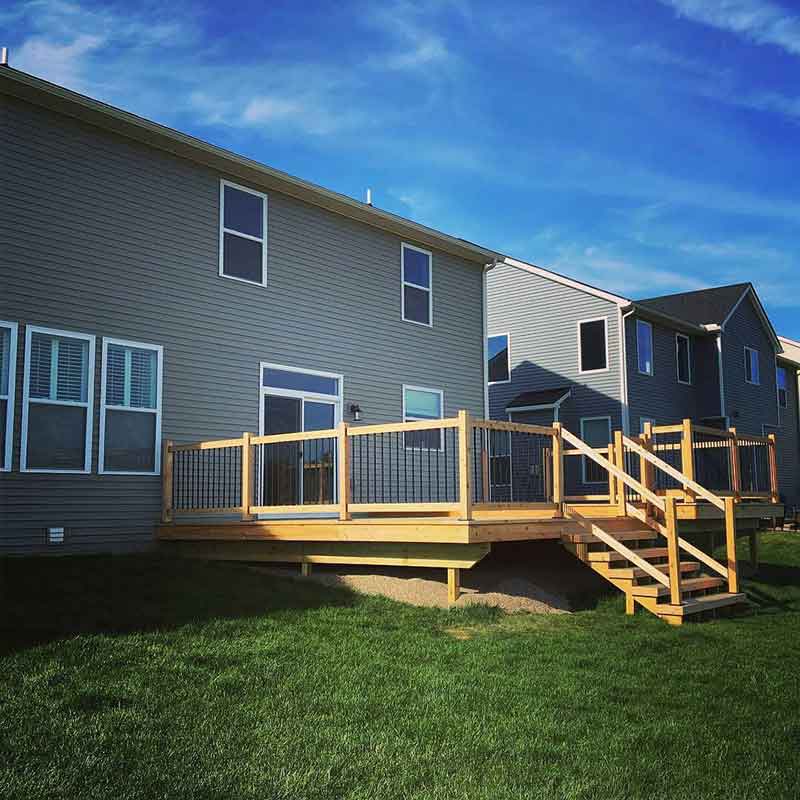
Brian is like many guys across this country who has a family and a a busy life. And like many people, he takes pride in his home and values the time he has away from work.
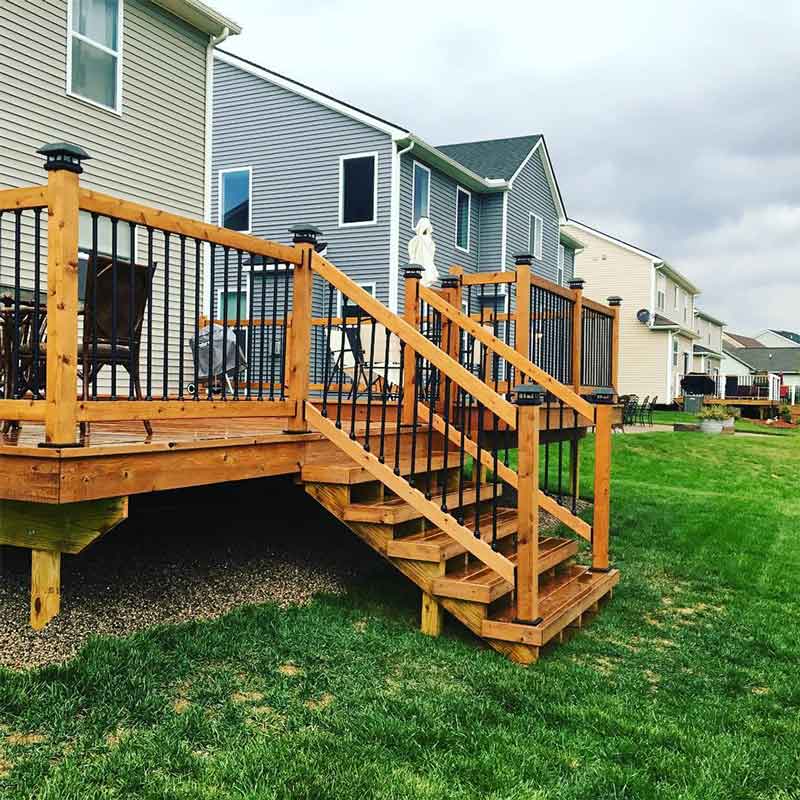
So when he was faced with installing over eighty feet of metal balusters for a new deck he just built, he was looking for a beautiful but easier system that he could tackle all by himself.
NOT ENOUGH HANDS...
Common baluster systems on the market use plugs that fit inside balusters or fit in holes bored into 2x4s.
In either case, they require an up and down installation technique and many hands on board to line everything up precisely. All the balusters have to be perfectly aligned with their opposite counterpart plug or hole in order to be assembled.
But on this stair rail you can see that the connector is designed to accept the baluster from a sideways motion. And that makes a world of difference for you in terms of time and ease. And if you are a builder, you will love this too because it really is faster to install.
...TOO MANY BALUSTERS
No need to be a human octopus. Those days are over.
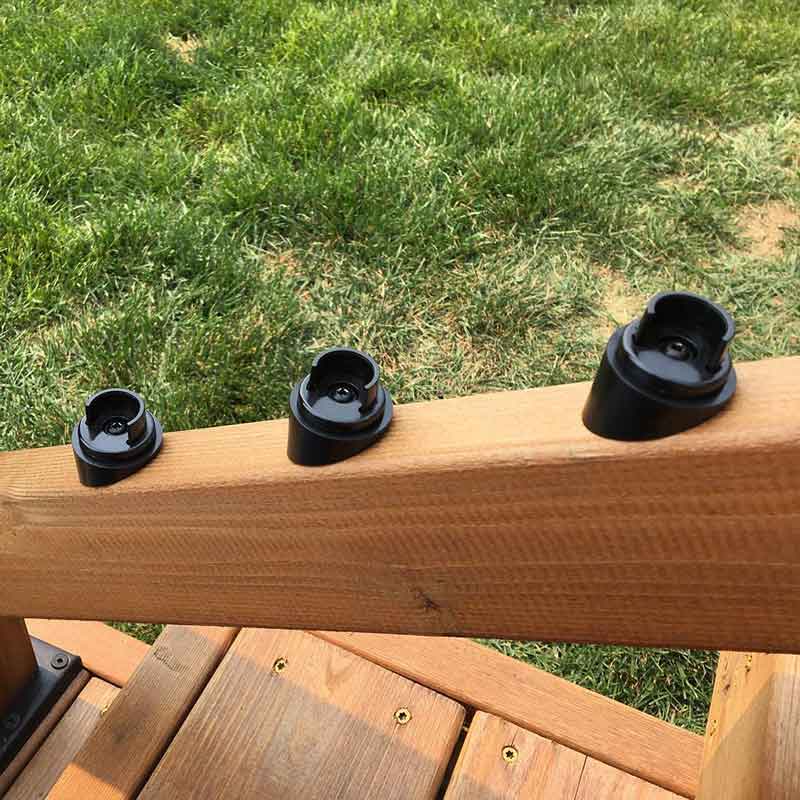
You can assemble a horizontal or stair assembly first and then move along and snap each baluster into place one after another.
You will actually enjoy the sound of that “snap”. Then just slide down the color and if you listen closely, you will hear another snap as the collar seats itself and locks together with the base.
BRIAN DID IT
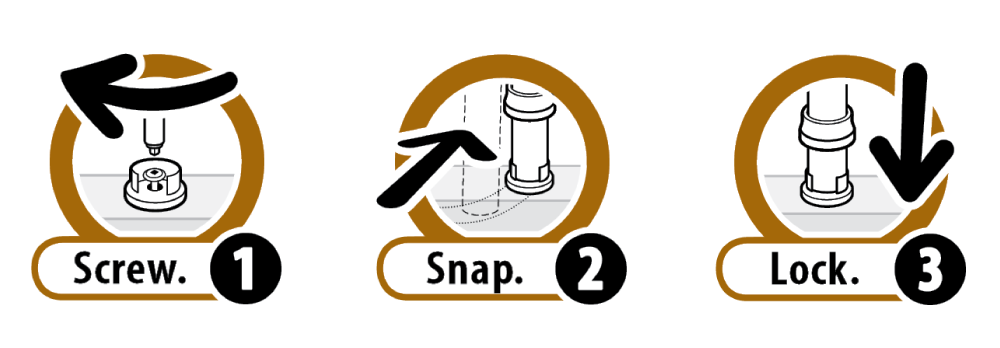
It really is a easy as screw, snap, lock or one, two, three as we like to say.
This product is designed with the common everyday DIYer in mind. Once you have tried using the Snap’n Lock Baluster system we are willing to bet you will never want to use a common plug style system again.
And unless you move to a new home and build a new deck, you will not have to.
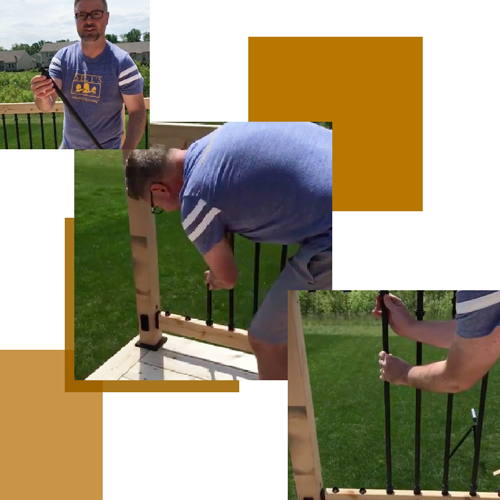
Here is Brian in his backyard demonstrating exactly how the balusters snap into place horizontally.
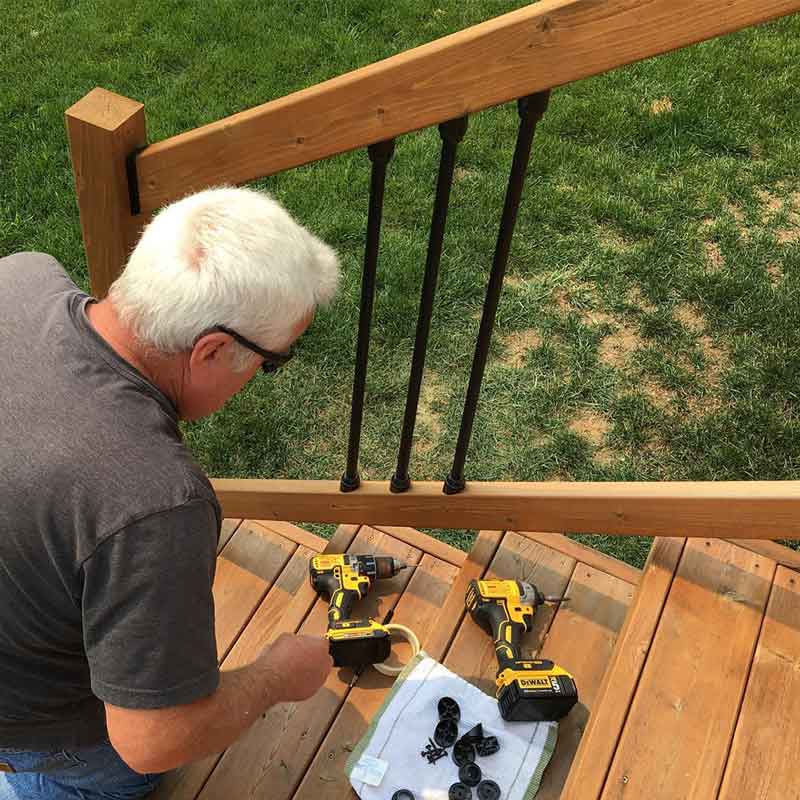
It is so much easier to screw the base connectors onto each 2×4 and build the rail first, then just snap each baluster into place.
Of course, Brian also made the job of building the railing even easier by attaching the 2x4s to the posts with our hidden fastener Shadow Rail Connectors.
BE HAPPY. DON'T WORRY.
A project like this is within the reach of virtually every DIYer.
Why not try using the Snap’n Lock Baluster system on your upcoming deck building project?
SNAP'N LOCK BALUSTER - EASY AS 1, 2, 3.
Screw each base connector on to the 2x4s. Snap the balusters into the receiving base connector. Slide and lock the collar into place.
WE'RE THINKING OF YOU EVERYDAY
Our mission has always been to deliver solutions that look great and perform to higher standards. So we try hard to remove redundant materials, to hide fasteners, and to deliver it all in a form that looks beautiful and stands out from the crowd. It is just one more way we are trying hard to help you succeed.